So, you’ve watched a couple DIY videos and bought some supplies from the hardware store. All that’s left to do is put some epoxy down in the garage…right?
Not so fast! Epoxy flooring is possible to do on your own, but without the right prep work and precautions, you will only end up making more work for yourself – and you likely won’t even be able to use the floor at the end.
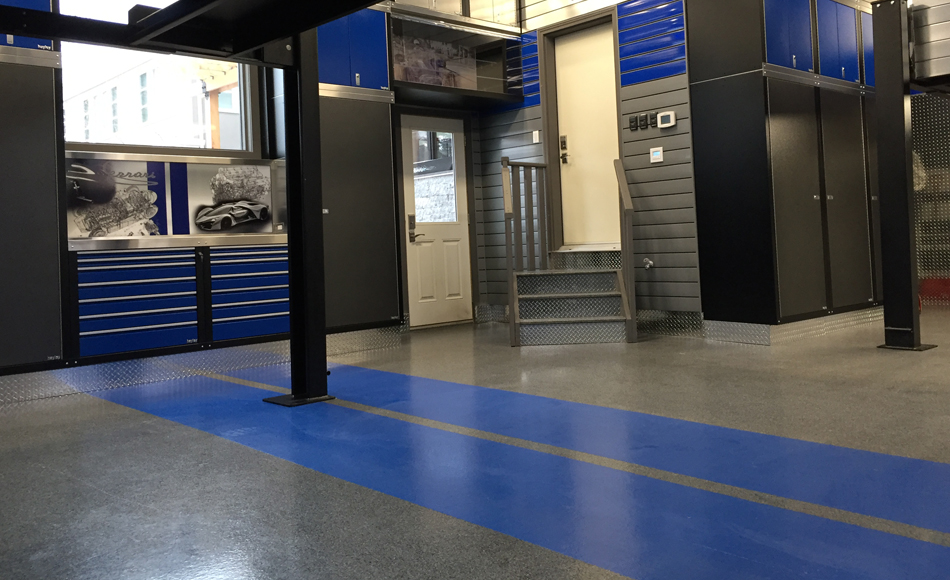
Here is a tried-and-true method that we use to get a perfectly smooth, long-lasting epoxy floor in Calgary garages. If you’re unfamiliar with the process, here’s what the whole thing looks like from start to finish.
Steps to Installing an Epoxy Floor
Step 1: Prep Work
As with most home improvement projects, the key to ultimate success is preparation. If this step is skipped, it’s virtually guaranteed to end badly for the final finish.
There are certain levels of prep that must be done to the existing concrete floor in order for the epoxy to stick to it. For example, if there is already epoxy in the floor, we will need an intercoat primer to help connect the new coating to the previous one.
The prep details depend on the specific epoxy used. Usually, the prep is done to a higher grit or CSP level (i.e., we make a rougher surface). This is because we want more surface area for the chemical to adhere to. Different types of epoxy will have different CSP requirements, and different types of concrete coatings (like polyureas and polyaspartics) require a lower CSP level. They have penetrating qualities and the roughness doesn’t add to their adhesion.
We also grind the concrete if there isn’t a coating on it already. If there is a coating, and we use the intercoating primer, we may also sand (very lightly!) for a rougher surface, but we don’t grind like we do for plain concrete.
Step 2: Filling the Voids
Once the initial prep work – grinding, sanding, and so on – are done, we make sure that all voids are repaired. We want the concrete slab to be flat, with a uniform surface for the epoxy to stick to. Voids can be cracks, spalling, and low areas where dirt or water might pool (also known as “bird baths”).
Step 3: Clean Everything
The voids are filled, and the concrete is prepped. It’s time to get rid of all the dust and dirt that’s lying around! Before we apply any epoxy at all, we completely vacuum the floor and any vertical areas that will be coated. It’s important to remove as much of this debris as possible, to ensure good adhesion of the base coating to the underlying material.
Step 4: Applying the Base Coat
With prep out of the way, it’s time for us to take the plunge to the first application! The base coat of epoxy goes on this fresh, dust-free surface, and we will apply it by roller. (If you are doing your own project, here’s a pro tip: roll your roller sleeve along a strip of duct tape to get the loose fibres off before you start rolling the epoxy). This coat goes on much like paint and will take anywhere from 6-18 hours to dry enough for the next stage.
Step 5: Hardening and Additional Coats
After a while, the base coat will be hard enough that it can accept another coating. This next level is called a bed coat, or sometimes a grout coat (but they mean the same thing). Using a sprayer or roller in the same way, this next coat is applied at a level measured in mills (1/1000s of an inch), or dry film thickness (DFT). This is a measure of the thickness after that particular coating has become dry (cured).
Step 6: Media Level (Optional)
Some people want to add some personality to their epoxy in the form of colour speckles, sand, quartz stone, chips of PVC, and so on. That would happen here at Step 6: the media level (not called a coating).
Once the media has been broadcast onto the ground, the floor has to be scraped (in multiple directions) to break off any of the pieces that are sticking up too high. The bits that break off are gathered into a corner by a leaf blower, where we vacuum it up. The pieces cannot be reused, since they already have chemical residue on them.
Step 7: Applying the Top Coat
The end is in sight! After the media level comes the top coat, which is generally the thickest coat because it is where all the wear and tear happens. It will also have a high coefficient of friction (top coats have to have a recommended anti-slip additive). These coats might contain sand for extra grit, or a specialized powder that increased grip for anyone or anything on the surface.
Step 8: Curing the Top Coat
It takes time and some elbow grease to get there, but the last step is fairly simple: let the top coat cure until it reaches an acceptable level of hardness. Exactly what that level is will depend on the product, as well as the manufacturer’s specifications for the product, and the environmental conditions.
Once the top coat is cured, objects and vehicles can be placed on the surface, and you will be able to enjoy your fantastic new epoxy floor!
Installing Epoxy Flooring in Calgary, Alberta
If you don’t have the time or the handyman talents needed to install an epoxy floor in your garage, why not let the pros help out? At The Garage Store, we’ve been helping families around southern Alberta for nearly 20 years – not only with floors, but with storage, décor, accessories, and cabinets, too.
Reach out today for a free consultation and turn your Calgary garage into something amazing!